Selena Michele Interiors: Designing the Studio
I have been absolutely blown away by the response to the announcement of my new Selena Michele Interiors studio space! The excitement, encouragement, and kind words on Instagram have meant the world to me. If you missed the announcement, you can watch the reel here.
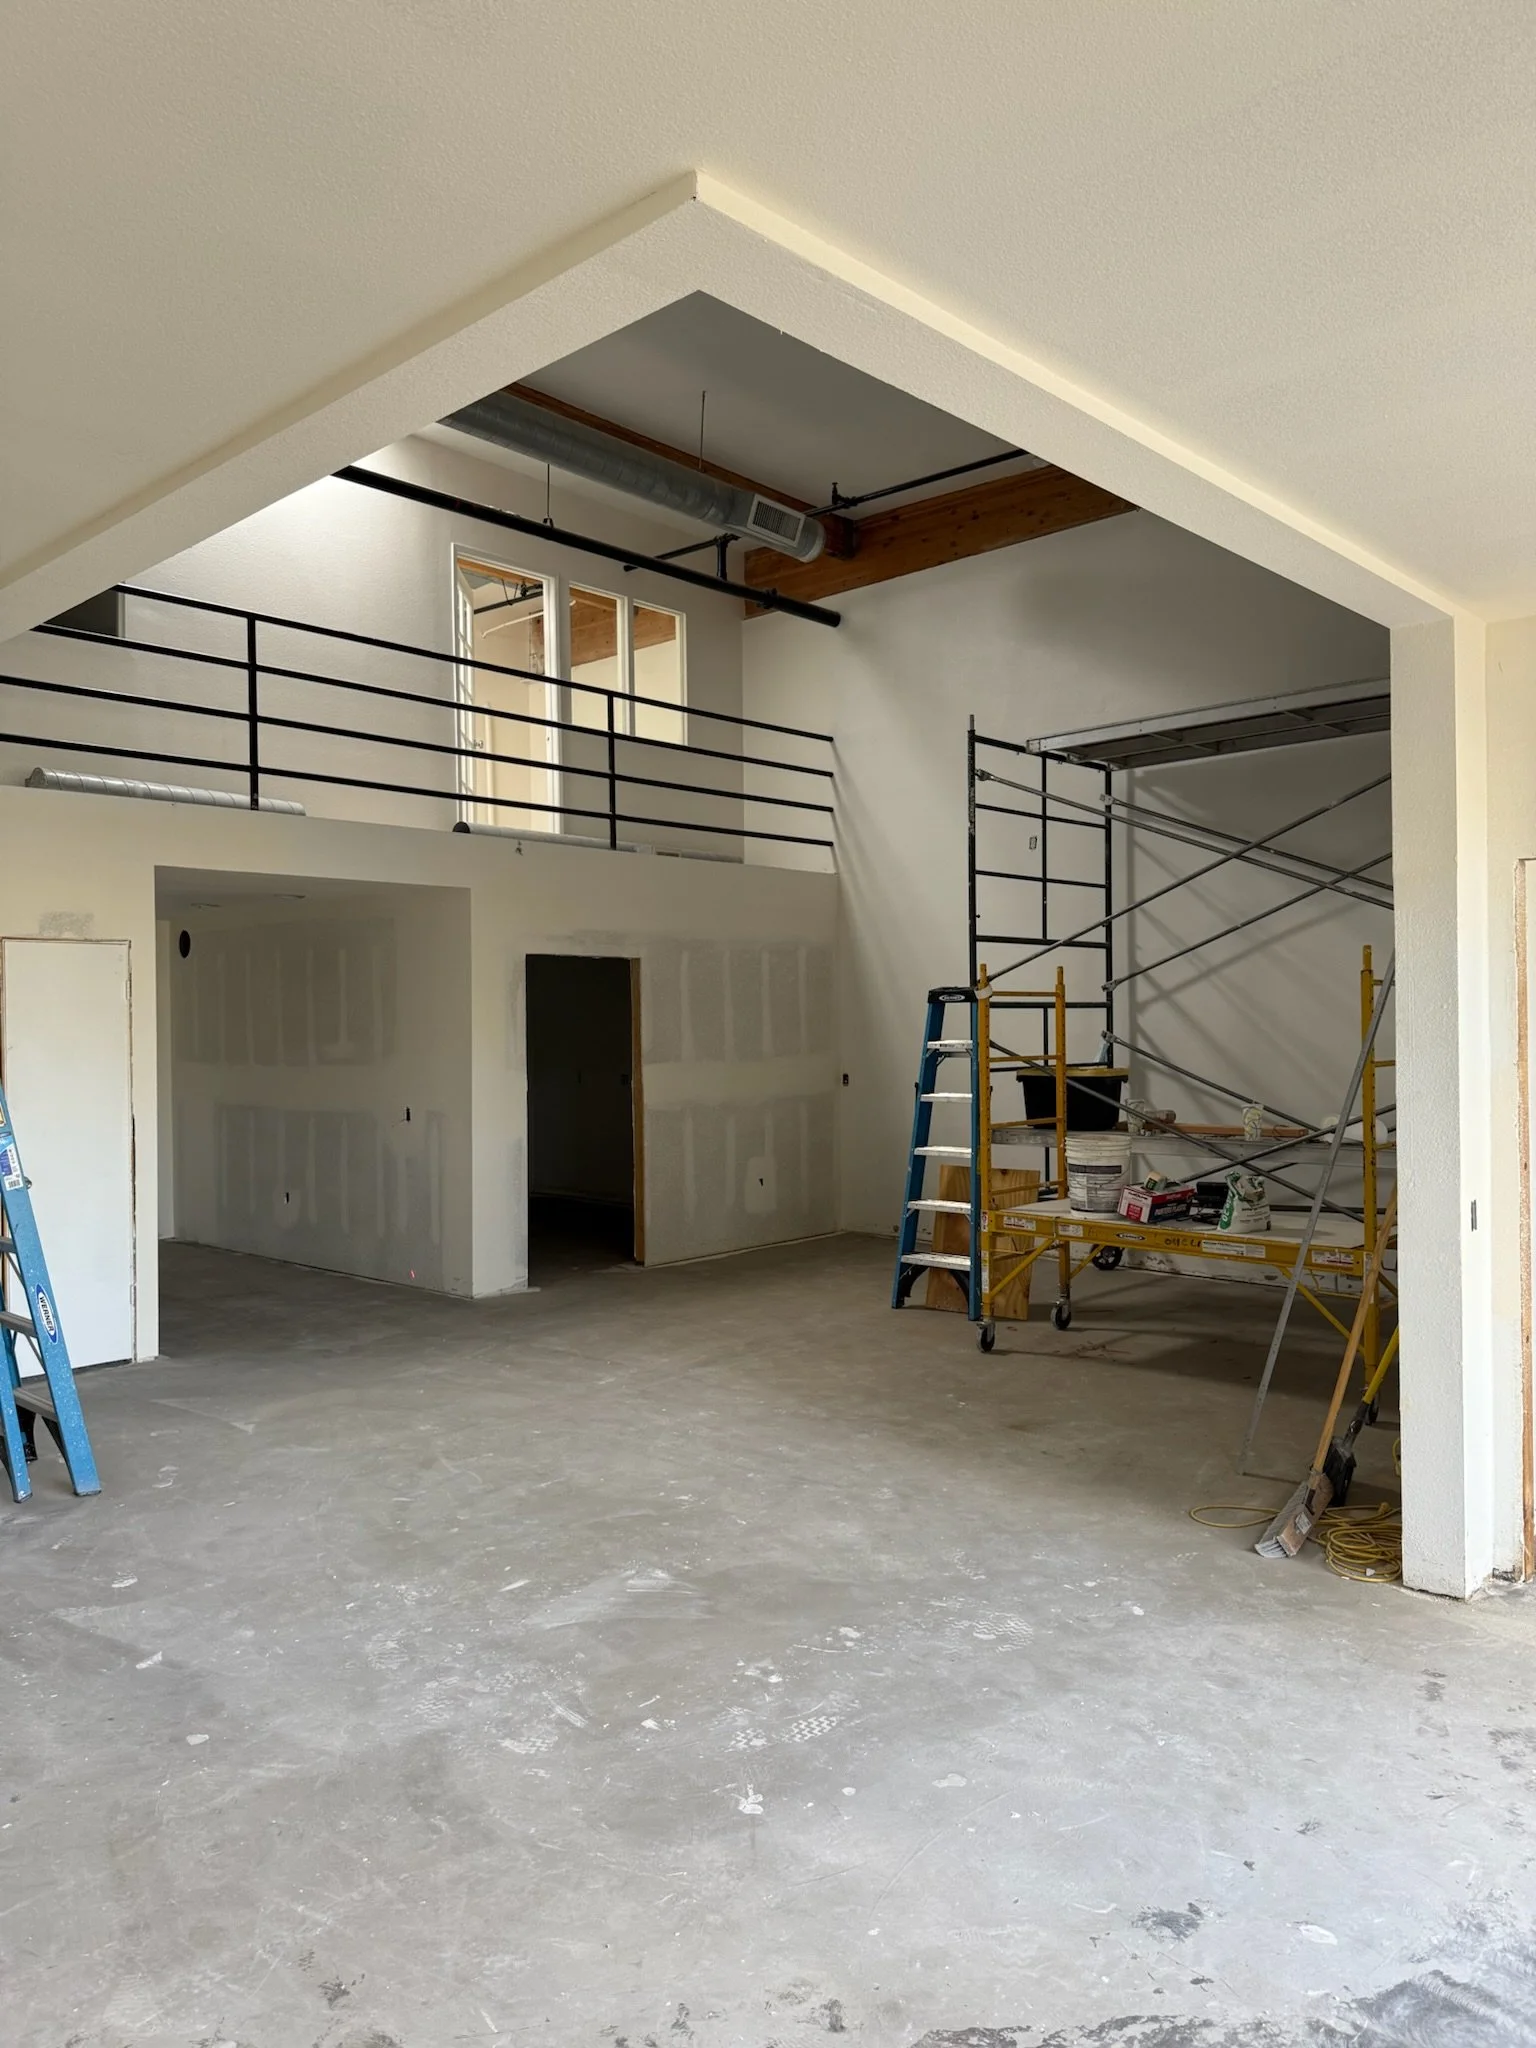
Taking on this space was a huge leap of faith. When I first saw it, it was in rough shape—but I could see its potential. Way too much potential to pass up. So, I took the leap, signed the papers, and found myself at the beginning of a long but exciting journey.
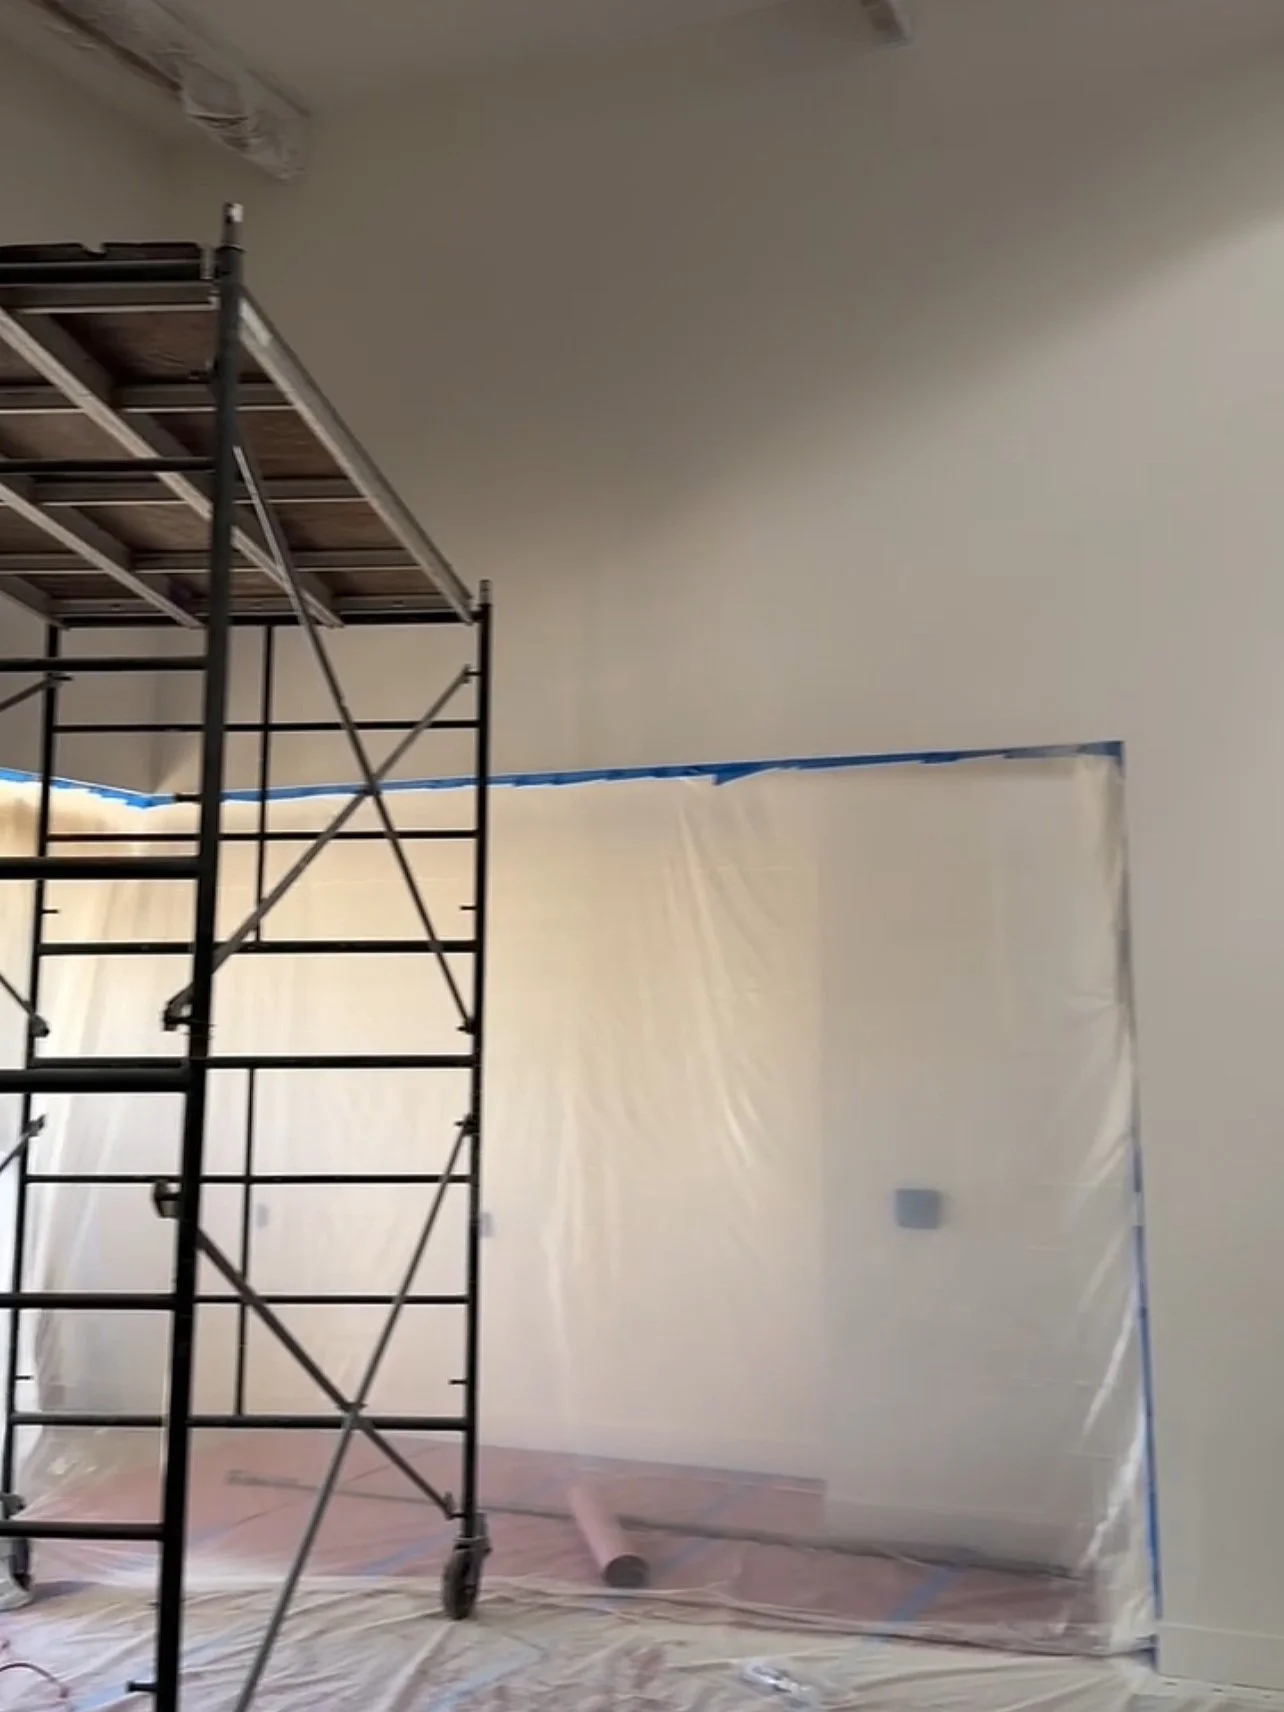
The First Steps: Painting at 20 Feet High
The first thing on the list? Paint. All 20-foot ceilings of it. This was one of those times when you say yes first and figure it out later. Luckily, there was some scaffolding left from construction that I was able to use, and let me tell you—this was my first (and hopefully my last) time that high up on scaffolding. The painting took a few weekends to complete, and I thought I had made it through the hardest part. Little did I know how much work still lay ahead.


Once I had the painting out of the way, it was time to get to some of the fun parts. I wanted this studio to be a showstopper—a space that I’d be proud to show off, a reflection of my style, and a playground for trying new things. Let’s break down some of the key areas:
The Bathroom: A Bold Statement
For the bathroom, I wanted something surprising. My mood board for this space was dramatic yet simple. But rather than just painting, I decided to lime wash the walls—and not just in any color. Black. I wanted to make a statement, to go for something most people might shy away from. To balance out the dark walls, I designed a light oak vanity that was custom-made for the space, and I added a sweet cafe curtain below it for a touch of softness. Once the art and pendant light are installed, the bathroom will be complete!


The Kitchen: Dream Design Come to Life
This kitchen is the culmination of so many design dreams I’ve been waiting to bring to life: plaster walls, curved marble counters, decorative lighting—all of it. One of the first things I chose for the entire studio were these marble counters that had been living in my mind rent-free for way too long. I am very literally obsessed. Since I was going bold with the stone, I knew I had to go for it with the rest of the space, too. I plastered the kitchen walls in a soft cream color—and now I want to plaster everything in this color. Custom cabinetry was a must, and I went with a gorgeous thin-frame style.


The Coworking Area: A Space for Creativity
In the heart of the main room, I wanted to create a welcoming and inspiring space for creativity and collaboration. I chose a large dining table with drawers for storage (because form + function is always a win), paired with comfy chairs that you’d want to sit and chat in for hours. I anchored the space with a gorgeous vintage rug, because in my opinion every space needs a little bit of vintage. But the pièce de résistance? A 16-foot tree in the corner that grows up to the skylight above. It makes me happy every single day.

The Presentation Room: A Green Moment
I wanted this room to be eye-catching and inspire confidence for anyone hesitant to add color to their space. Like the rest of the office, I plastered the walls—but this time in a soothing shade of green (one of my absolute favorite colors). This room is for meetings and client presentations, so I kept it simple with one large round table in the most jaw-dropping marble you've ever seen. It’s big enough to spread out all my presentation materials and still have room for a tray of croissants (a must, if you ask me).
The finishing touches? Two giant pinboards I made for real-life pinning (tutorial coming soon), a beautiful light, soft curtains, and chairs around the table.

The Entryway: The Final Piece
This is the last space to come together, and I’m taking my time to get it just right. It might have something to do with the custom sofa I ordered (because if you want luxury, go custom), and custom always takes time. Or maybe it’s because I decided the ceiling needed to be clad in wood for extra warmth. Good things take time, right? While we wait for this space to come together, enjoy the mood board I created for the entry.

So Many More Details…
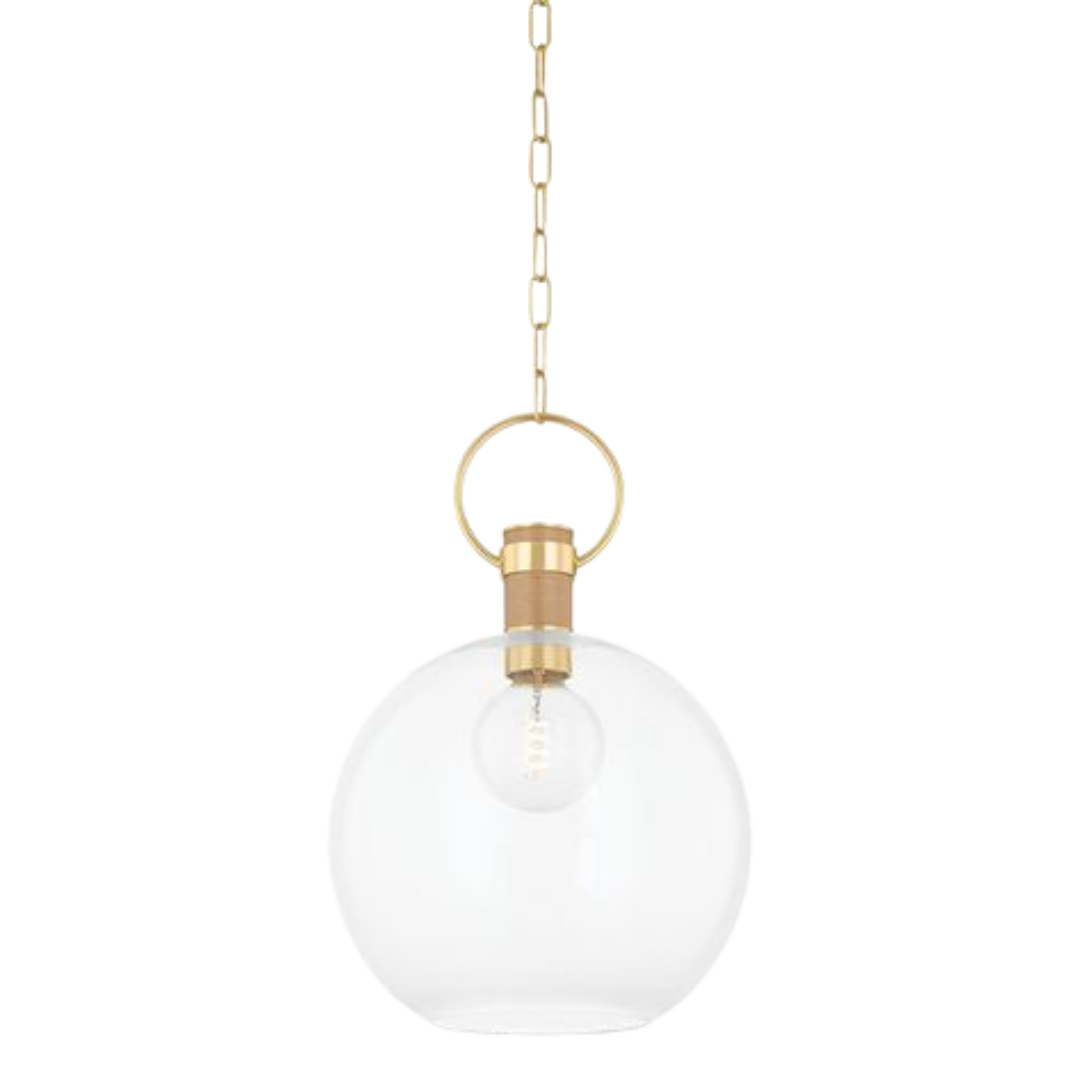
From the leather-wrapped stair rail to all the tiny details I can’t even begin to list, this studio is shaping up to be something really special. If you want to see more behind-the-scenes progress, make sure you’re following along on Instagram. And once it’s all done? You better believe we’ll be celebrating with a party. I can’t wait to welcome you into the space! For now, feel free to shop the look below!
Shop The Studio
|
Shop The Studio |